How to Build a Paver Patio: A Step-by-Step Guide to Transform Your Outdoor Space Individually, the bricks look a little crude, covered with tar and well worn, but the overall effect is perfect. Then we chose tumbled Wisconsin limestone for the border. The tumbling rounds the edges and gives the stone a worn look that complements the rustic appearance of the used pavers. For a high-end look, natural stone pavers (such as bluestone, flagstone, or slate) are a beautiful option. Each stone is unique, providing a natural aesthetic that blends seamlessly into outdoor environments. Sketch out your ideas and measure the area where the patio will go.
How much does it cost to build a patio?
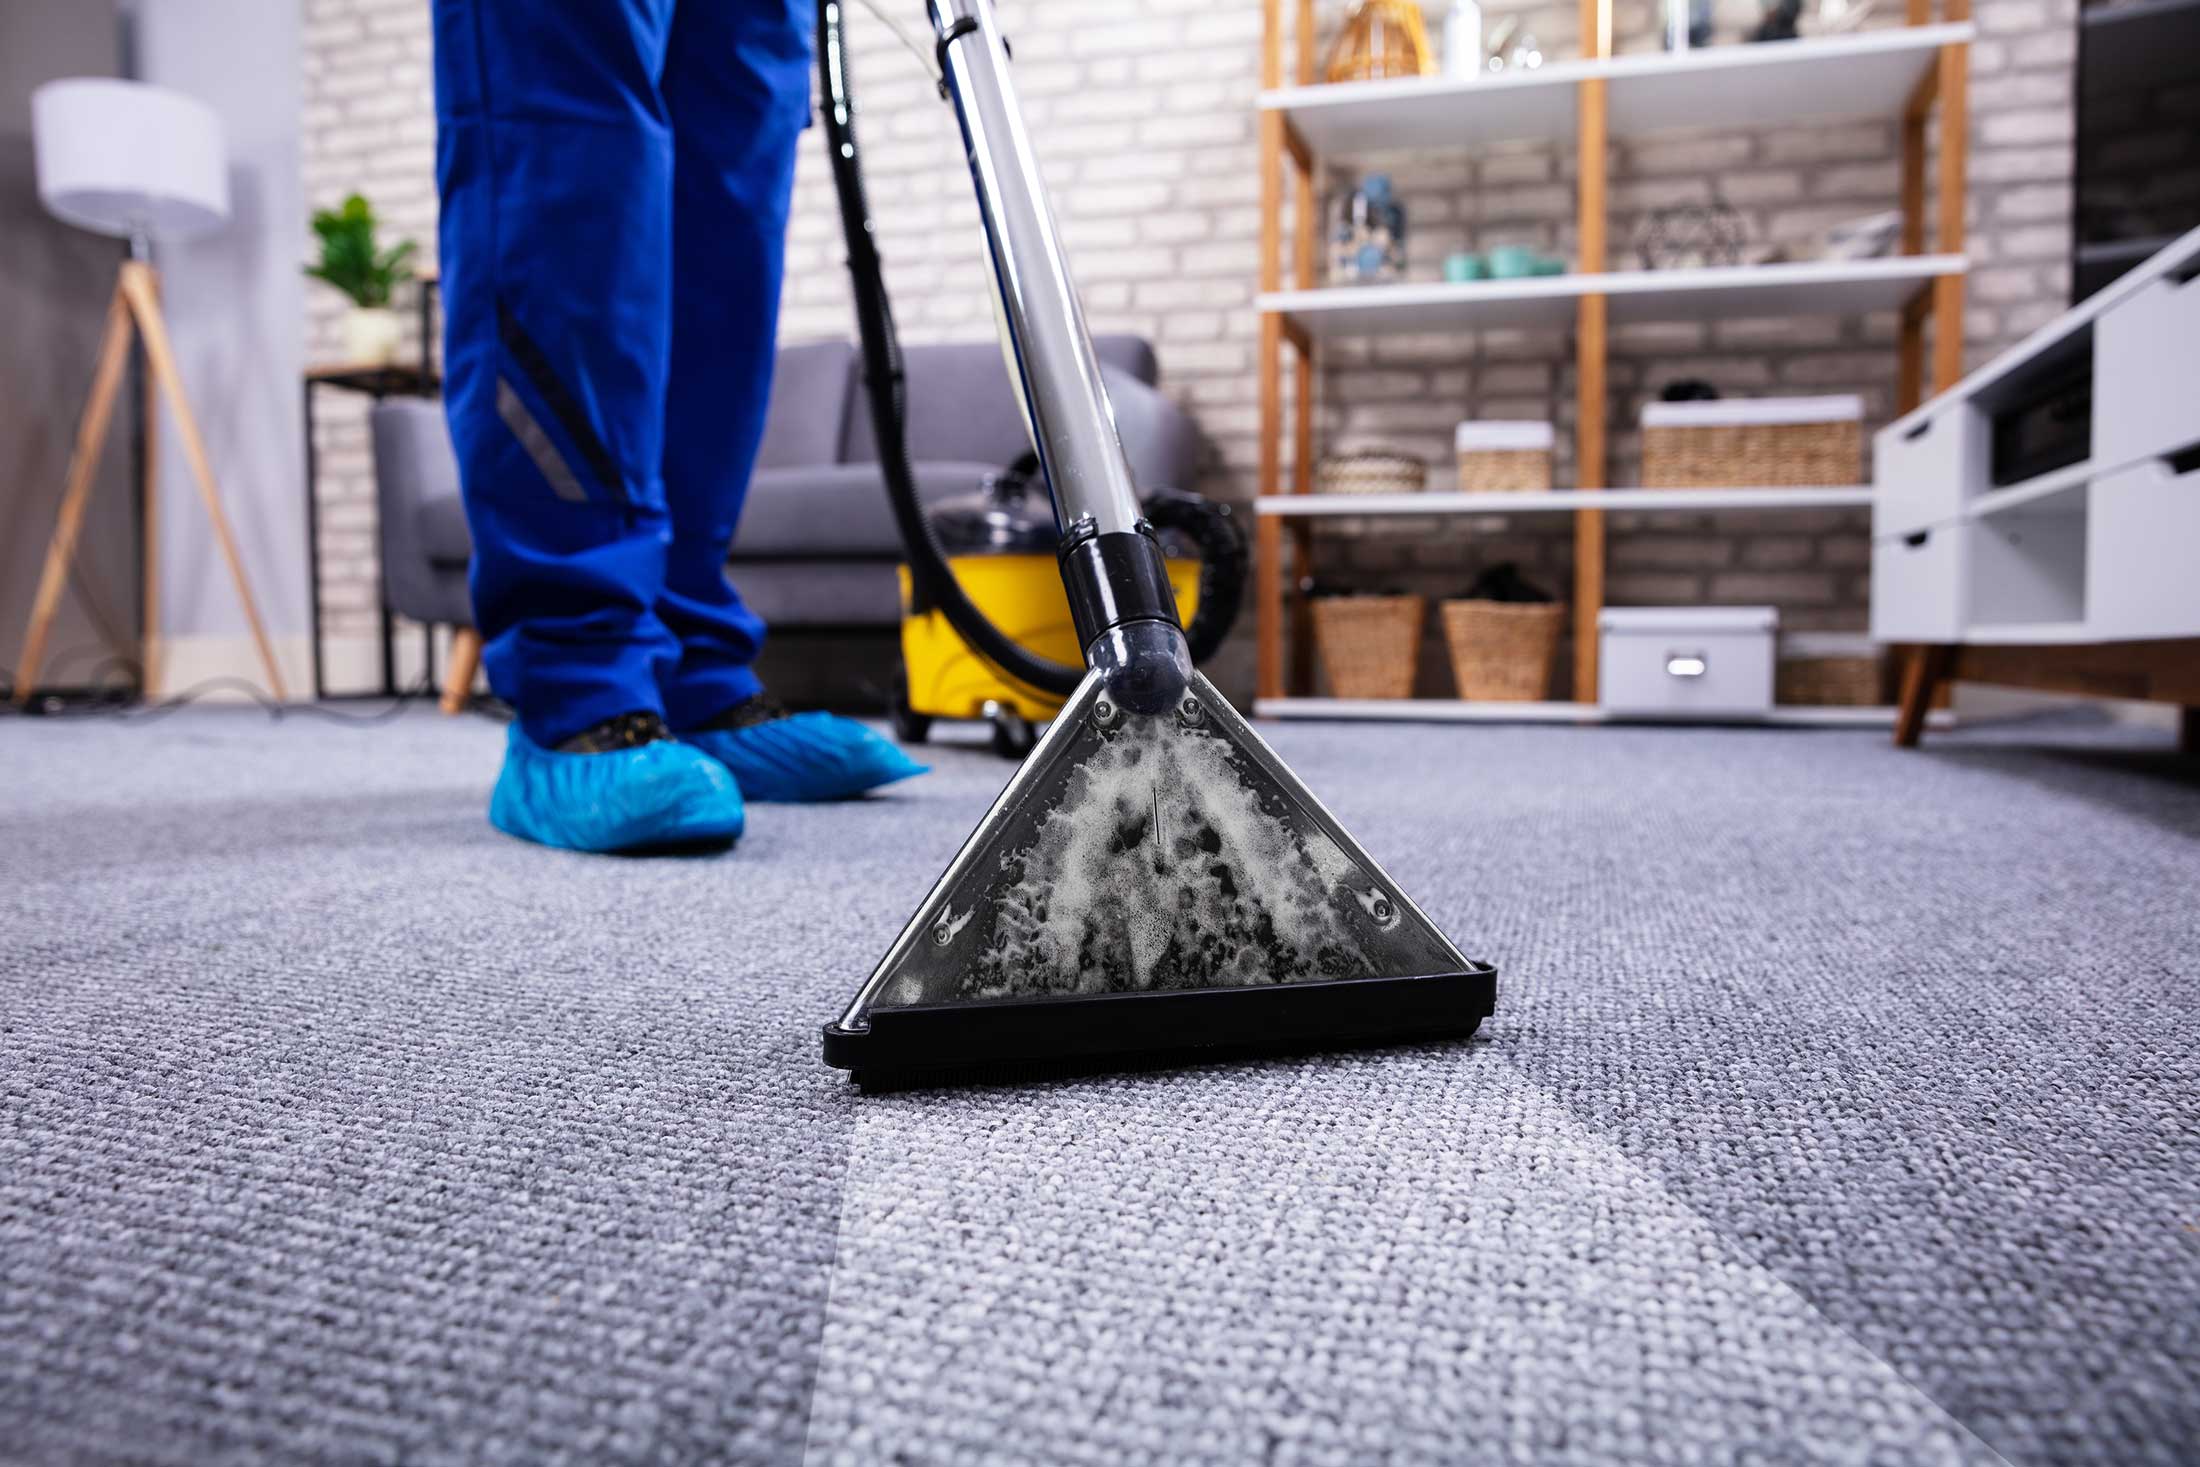
You can do it yourself with the right planning and tools. In this guide, we’ll walk you through the steps to build a beautiful and functional paver patio. Building a patio is much like putting together a puzzle. Rotate the pieces until they fit together, working to create a nearly uniform space between the stones. Use the following tutorial for how to build a flagstone, brick, or paver patio. Contact Us
Clear View Builders
Email: [email protected]
Phone: +19164205862
4913 Rio Linda Blvd
Sacramento, California, United States 95838
Mark the Patio Edges
- Though truly distinctive when installed properly, its finished surface is much rougher than flat stones like slate and bluestone.Incorporate a stone DIY patio into your backyard or garden for an easy outdoor room addition.Excavating, hauling, and leveling materials takes work.
Patio Materials and Surfaces
Transfer these measurements to graph paper, letting each square equal 1 ft. Lay tracing paper over your plan and sketch in the stone border and bricks. Wood is used for decks, so I won’t discuss the pros and cons here. If you want to DIY, concrete is easy to pour and doesn’t require as much precision. Although it might seem difficult, building a patio is not as difficult as it looks. Repeat, using the spacers to lay more concrete pavers. The total height between the bottom of the gravel base layer to the top of the paver will equal about 5½”. I also found it helpful to mark the top of where the paver will be. It’s important to note that depending on what your top base layer is made of, it may not actually add any height to your total. The new string locations now mark the height of the 4” base layer with the slope included. You don’t have to take them down, so no storage hassles. And you don’t need to build a permanent structure on the deck. One of the most popular patio shade ideas is a canopy patio awning that’s permanently installed. The fabric on most shade awnings is removable and should last about 15 years. Drive stakes into the corners of the patio area and adjust the area as needed. Remove all weeds, grass, roots, and topsoil from the area. After excavating, you will need to compact the earth if necessary and add a Check out the post right here layer of gravel or crushed rock on top. Typically, this base layer should be about 4 inches (10 cm) deep.